This page provides comprehensive step-by-step guides for CUNY Law faculty on using Brightspace.
Each tutorial includes clear instructions and visual examples to help you quickly get started. For on-demand training videos visit our Instructor YouTube Playlist.
Faculty Checklist:
PREPARE AND PRACTICE
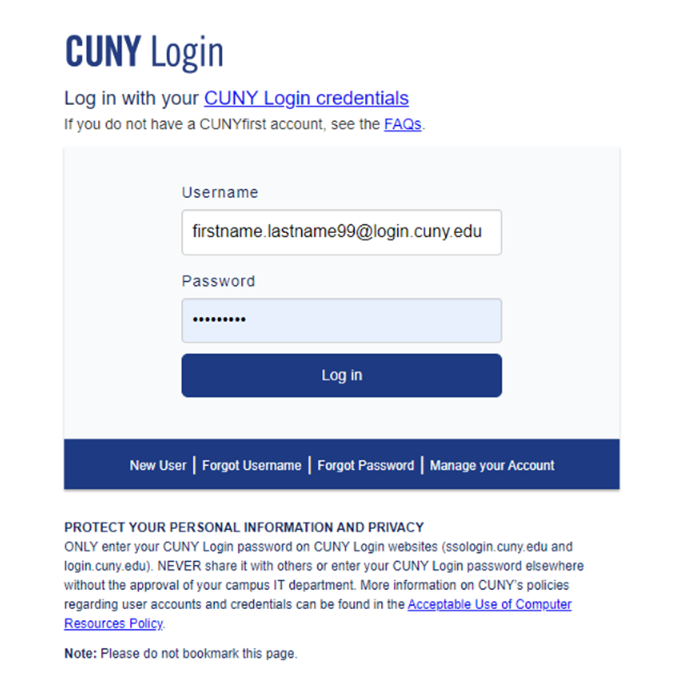
In your preferred internet browser, navigate to https://brightspace.cuny.edu. This will take you to the CUNY Login page (that you would normally use to access sites like CUNYfirst, Zoom, Dropbox, etc.)
In the Username field, type your CUNY Login username: Firstname.Lastname##@login.cuny.edu (the ## represents the last two digits of your EMPLID).
In the Password field, type your CUNY Login password.
Click the Log In button. Once logged in, you will see your CUNY Brightspace homepage.
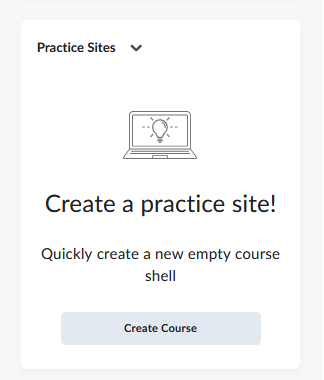
Create a practice site to learn and explore to get started.
Navigating the CUNY Law Brightspace Homepage

The Home Button – Easily return to the CUNY Homepage from anywhere in Brightspace by clicking “School of Law” or the Home logo.
The Minibar– Access any course you are enrolled in or teaching by clicking the 9-square grid icon. Access global notifications by clicking the envelope icon (message alerts), the speech bubble icon (subscription alerts) or the bell icon (update alerts). From your username on the minibar, you can make changes to your user profile, notifications, and account settings, as well as log out of Brightspace.
The Navbar – The Navbar is a list of tools for convenient access to powerful Brightspace features such as Discover allows you to search for courses. Brightspace Help provides direct access to resources for getting help on Brightspace including training resources, the D2L Brightspace community, and CUNY IT Help. College Administration gives you access to Course Admin features, your course class list, Class content and Rubrics you have created.
Widget-Based Homepage – The CUNY Law Brightspace Homepage is customized with Brightspace Widgets. These widgets include Announcements, Calendar, CUNY Colleges, the My Courses Widget,
Upload a syllabus for your course
- Click Content on the Navbar.
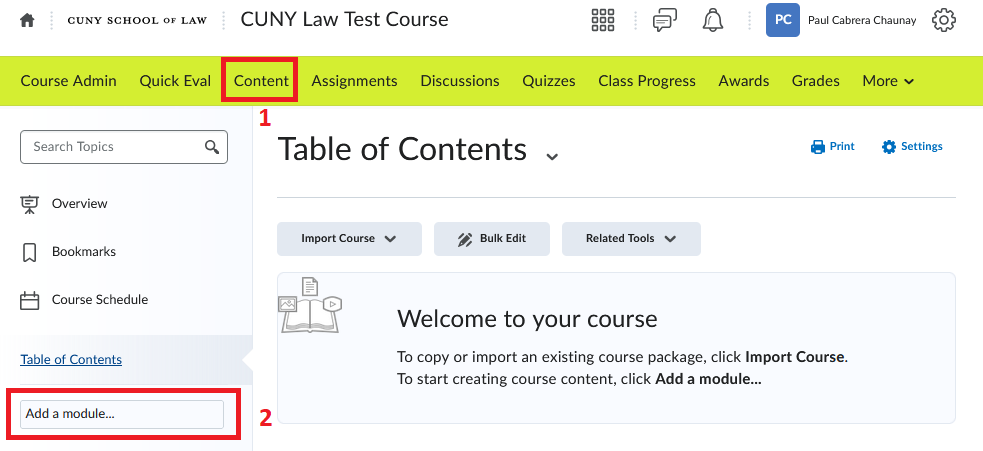
- Click Add a module under Table of Contents in the list on the left.
- Type the name for the module, “Syllabus.” You will follow the same process to create other modules such as Course Materials, Weekly Reading Assignments, PowerPoint Class Presentations, etc.
- Choose Upload Files from the Upload/Create dropdown menu.

- Click on the location where your syllabus is stored (My Computer, Google Drive, OneDrive).
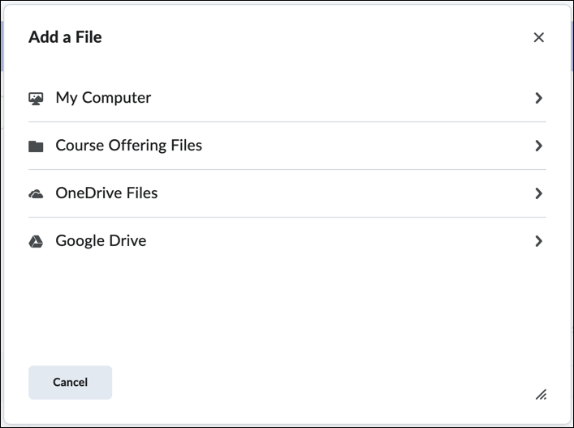
- Click Upload and select your syllabus.
- Click Add.
Your syllabus is now added to your Brightspace course.
Adding and Organizing Course Content
You can create modules, sub-modules, and topics for your course in the and then add and organize your learning materials within this structure as part of Content.
Create a new module and sub-module
To create a new module
You must create a new module before you can add topics. You can also create sub-modules (modules within existing modules) to establish a deeper hierarchy.
- From your course navbar, click Content.
- In the Table of Contents panel, click Add a module.
- Enter the name of your new module and then press Enter.
A new module is added to your Table of Contents and the module is opened for editing.
To create a sub-module
- Under Table of Contents, click a module.
- Click Add a sub-module.
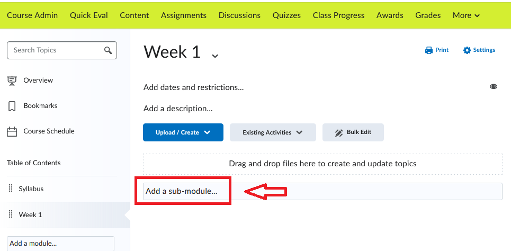
- Enter the name of your new sub-module and then press Enter. You can add as many sub-modules as needed. For example, a sub-module could be a “Reading Cases” assignment for the week. Another sub-module could be an actual assignment, such as a Reflection Paper or a short quiz.
The sub-module is added to your module. You can upload, create, and add existing activities.
How to activate your Course
- Click on Course Admin in the Navbar.

Choose Course Offering Information under Site Settings.
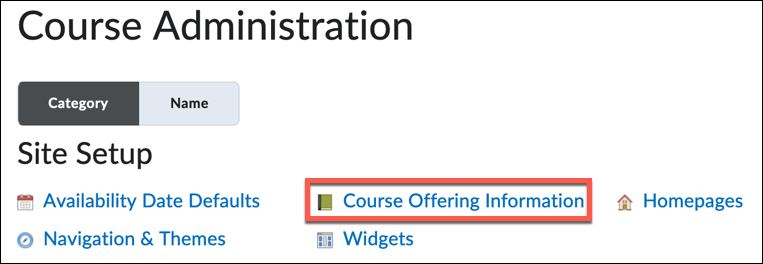
- Scroll down and select Course is active.
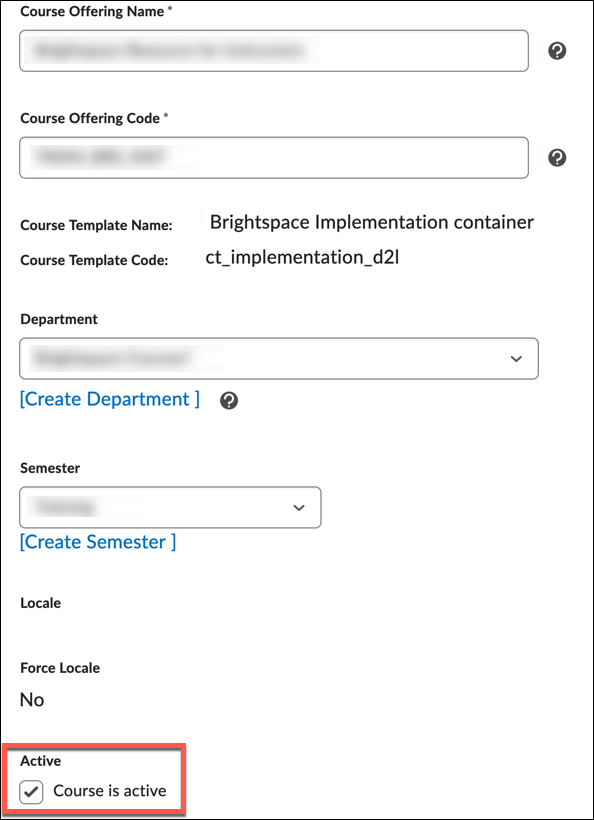
- Click Save.
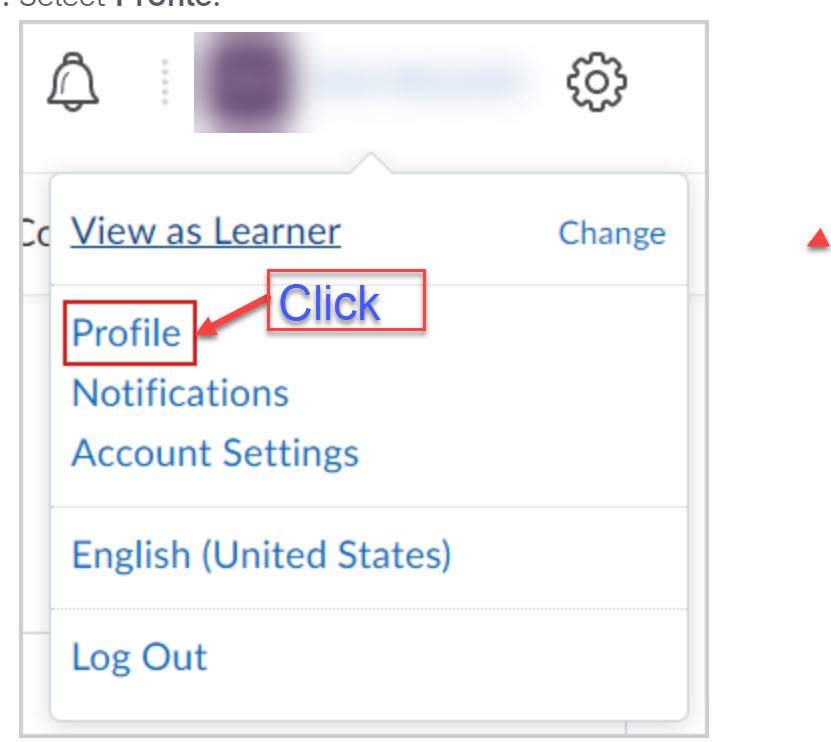
To edit your user profile
- On the minibar, click your username.
- Select Profile.
- From the Edit my User profile page, do any of the following:
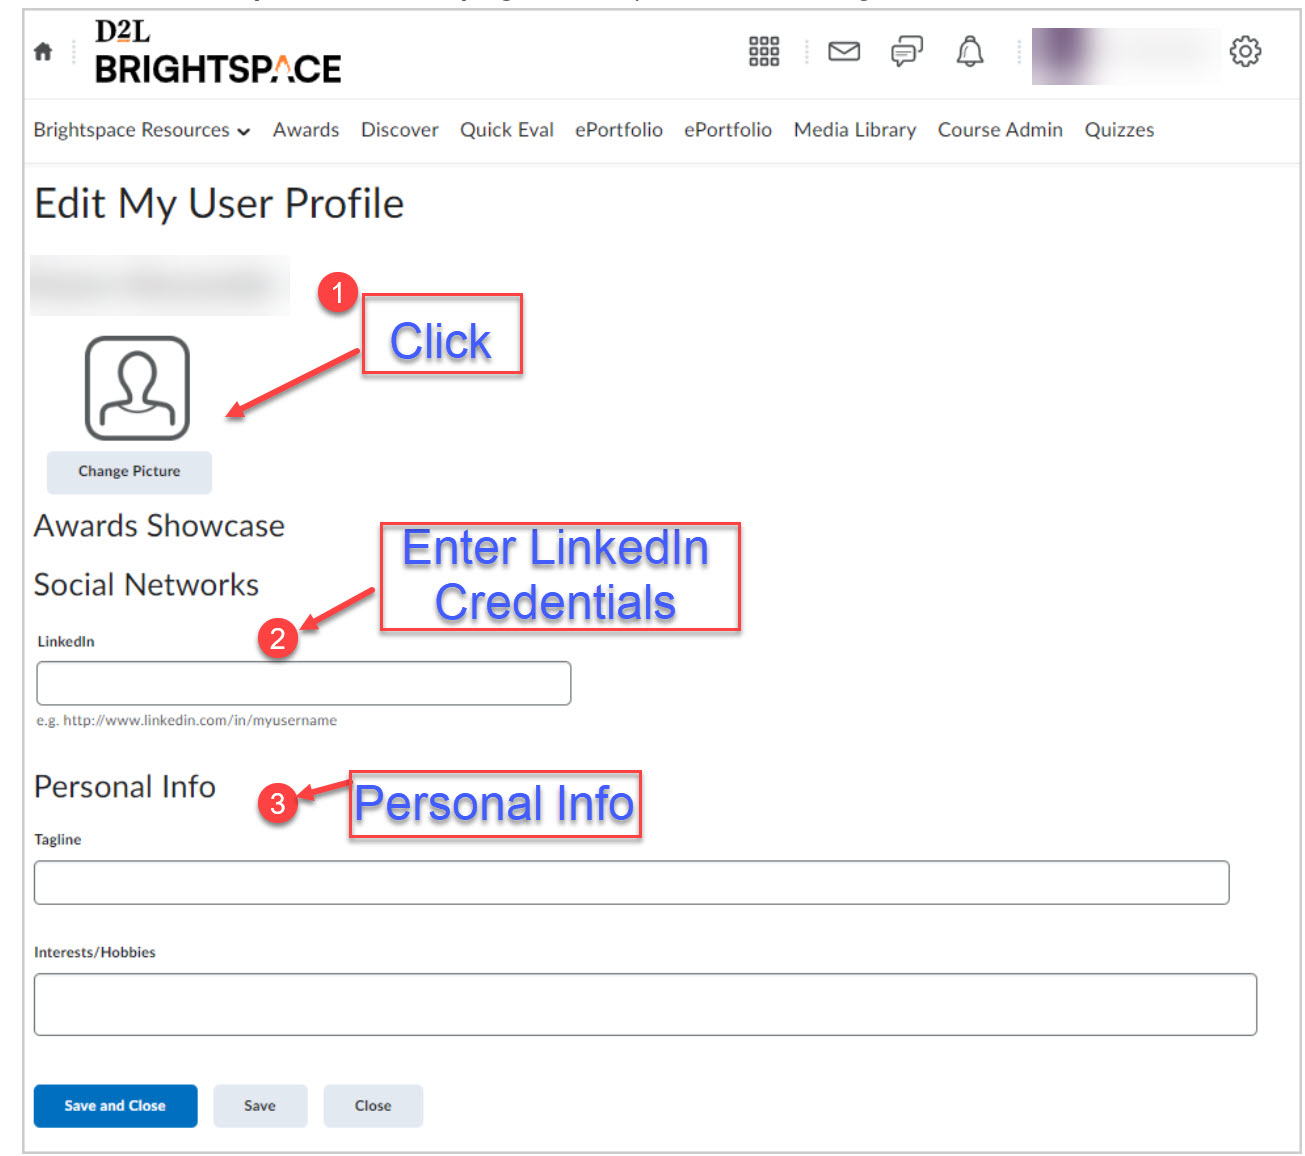
Click Change Picture to upload a profile picture.
Notes:
- The recommended size for profile pictures is 100 by 100 pixels.
- Uploading a differently sized image could result in loss of quality, stretching, cropping.
- The maximum file size allowed for profile pictures is 1MB. If you attempt to upload a larger file size, it will fail to upload a larger file size, it will fail to upload.
- Accepted file formats for profile pictures are JPG, JPEG, PNG, and GIF.
- Your profile picture displays in all your courses in areas such as Discussions and Classlist. If you do not upload a profile picture, the navbar displays your initials in the user-profile badge. This displays in the Brightpsace navbar and Activity Feed.
- Enter a Social Network link.
Enter your Personal Info, including your Tagline and Interests/Hobbies
Note: All long text fields under Personal Info are limited to 4000 characters each.
Click Save and Close.
Additional Trainings
Course Management Modules
Support Resources
CUNY Faculty Workshops
CUNY IT Help Knowledge Base
Instructor Guided Training
CUNY Law Support:
Paul Cabrera – paul.cabrera@law.cuny.edu
Tasha Pierre – tasha.pierre@law.cuny.edu
Brightspace by D2L Community
Instructor YouTube Playlist
LMS Transition YouTube Channel
Brightspace Resource Course (CUNY Login Required)
Toll-Free Brightspace Support Line: 1-888-895-2511